Showing posts with label maps. Show all posts

Thursday, November 4, 2010

Noble Map Pack Trailer

Self explanatory.

Sunday, October 17, 2010

HR Maps: Zealot

Zealot is a small, symmetrical map used primarily for Slayer gametypes.  Blue and Red teams spawn opposite each other and have sight lines from the spawn points to hit the other team.  Grenades create massive chaos on the map, so Armor Lock rules with some people choosing Jet Pack as well.  Active Camo and Sprint pair well with Sword on this map, but it's pretty difficult to avoid grenades and stay alive long enough to have a sustained Sword Spree.


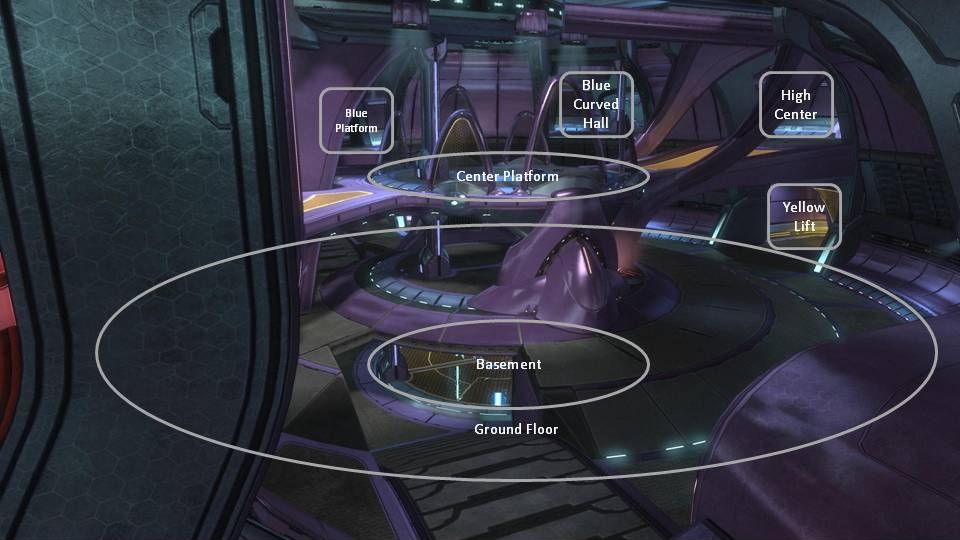
Maps annotated in-line with location call outs.  Key weapon locations:
  • (A) Energy Sword - Spawns in Holograms every 120 seconds after it is picked up.  Can have a max of two on the map concurrently.  Is not available at the beginning of the game, spawns 120 seconds after the game starts.
  • (B) DMR/Magnum - These spawn in both the Red Halls and Blue Halls on the ground level.
  • (C) Needler - Spawns on the Center Platform
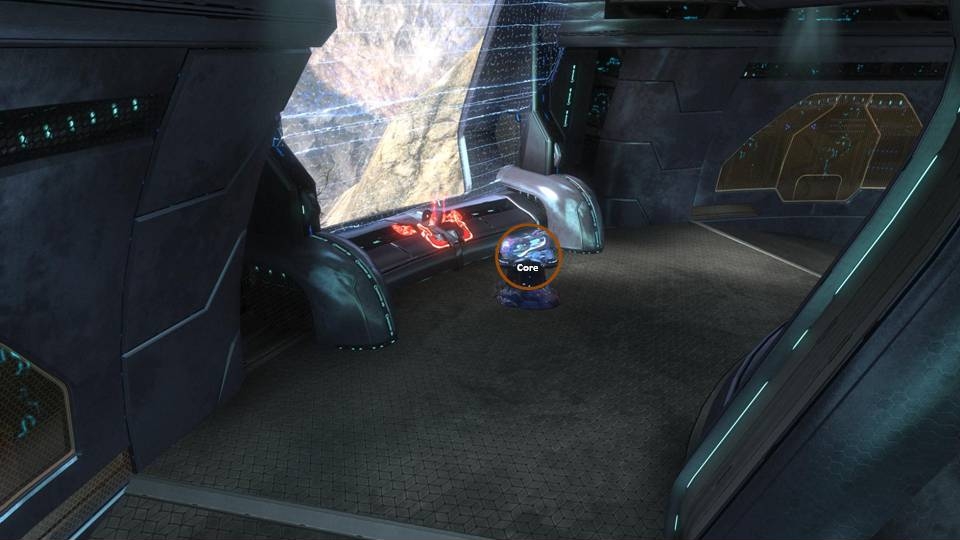
  • (D) Concussion Rifle - Spawns in space, accessible via Red, Blue or Yellow lifts.
Close up screenshots of all locations:


Friday, October 8, 2010

HR Maps: Spire

Spire is a very large, asymmetrical map used primarily for Invasion.  Map details below are customized for classic Invasion, Invasion Slayer has some different nuances but the geometry stays the same.  In classic Invasion, Spartans try to capture one of two generators in Phase 1, one of two control rooms on Phase 2, and then the core in Phase 3.  Elites win if they stop the Spartans in time at any given Phase.


Maps annotated in-line with location call outs.  Key weapon/vehicle locations:
  • (A) Falcon/Warthog - These spawn in Phase 3 after the Core has been removed.
  • (B) Banshee - Spawns in Phase 3 after the Core has been removed.
  • (C) Focus Rifle -  Spawns in Phase 3 after the Core has been removed.
  • (D) Plasma Launcher (n00b tube) - Spawns in Phase 3 after the Core has been removed.
  • (E) Focus Rifle -  Spawns in Phase 3 after the Core has been removed.
  • (T) Plasma Turrets - Available immediately in Phase 1
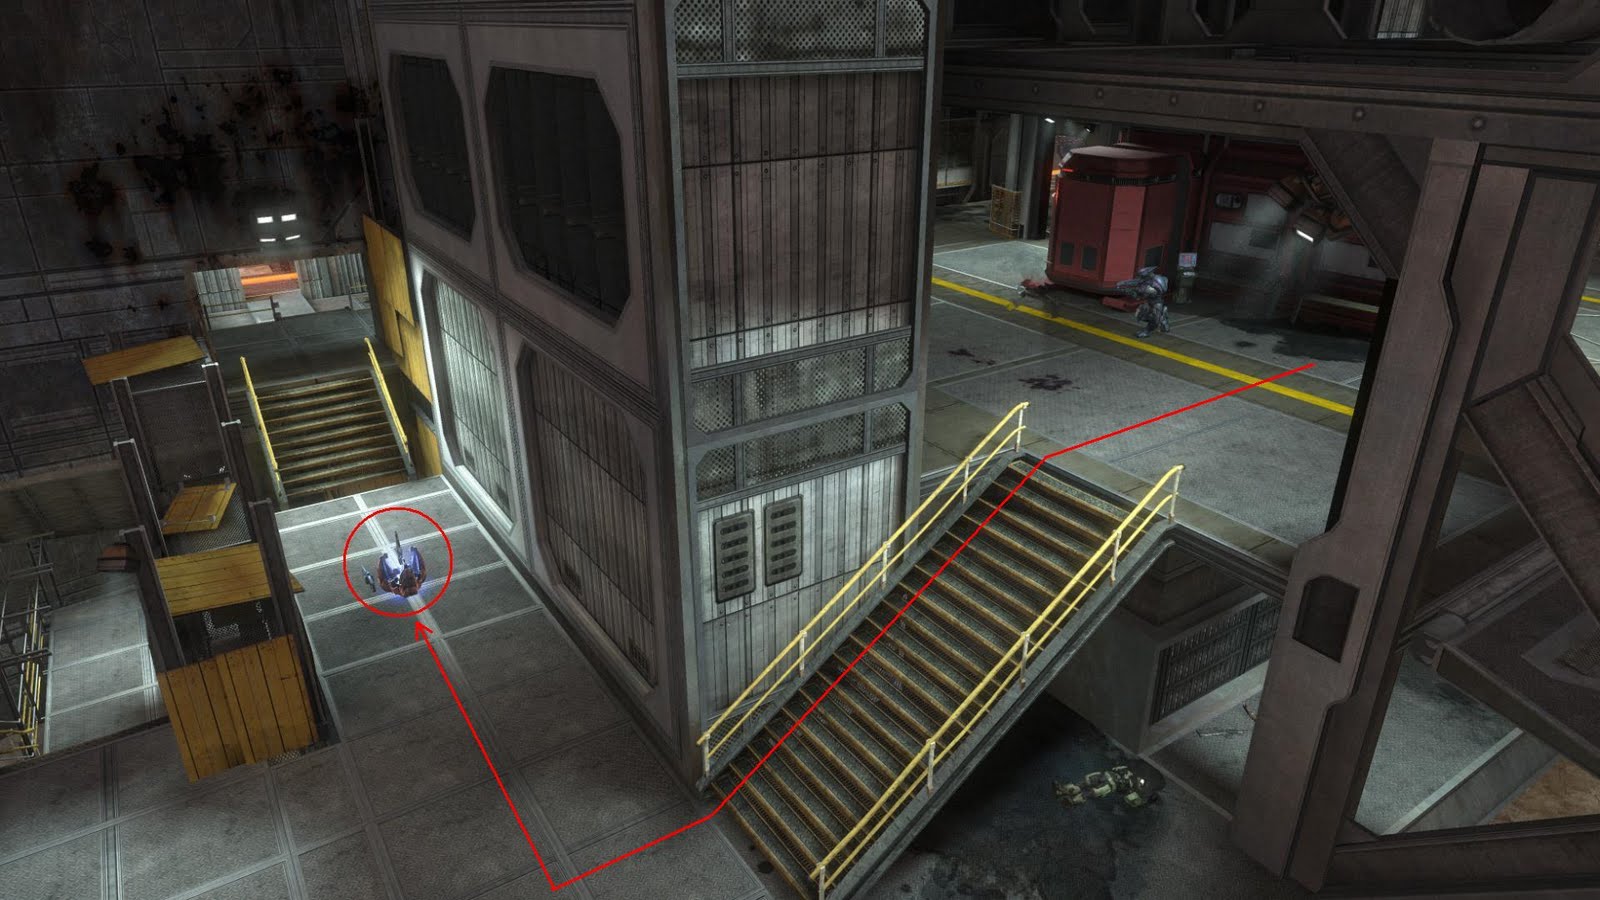
Close up screenshots of all locations:


Sunday, October 3, 2010

HR Maps: Countdown

Countdown is one of the new maps that wasn't in the Beta, click below images for huge.  It's a small, symmetrical, 3-level map that we've seen mainly in Team Slayer.  The interior houses the power weapons and all the air lifts. Location names below are the "official" location names that will appear in your HUD.  All floors are labeled along the walls as well as on your HUD.


Key locations:
  • (A) Catwalk - On the third floor, the Energy Sword spawns in the middle.  The two airlifts from the Launch Pad lead to either side of this area.
  • (B) Ventilation - On the north side of the first floor, the Shotgun spawns here.  This is a small room with three airlifts that exit on the third floor.  The middle airlift exits on the Balcony.
  • (C) Launch Pad - This is the entire middle "atrium" of the map.  The middle of the first floor is labeled "Launch Pad", but the interior ledges on the second and third levels are also labeled "Launch Pad".  There are two air lifts on the South Side of the large atrium area that lead to the Catwalk/Sword on the third floor.
  • (D) Big Door - Named for the large cargo door (closed) that is along one wall, this is the southern most point of the first floor.  This is an easy place to get pinned down and isn't the best spawn location if you have a choice.
  • (E) Balcony - There is a Concussion Rifle that spawns here at the northern most point of the third floor.  Because both sets of stairs and three airlifts lead here, this is where much of the action occurs.
  • (F) Just for reference, this is where the middle lift from Ventilation exits.
  • (G) Tech Stairs - These are on the east side of the map and connect all three floors.  This is the Red side of the map, and this location is named after the room on the second floor with all the tech equipment along the walls.
  • (H) Pipe Stairs - These are on the west side of the map and also connect all three floors.  This is the Blue side of the map, and this location is named after the analogous room on the second floor with all the pipes running all the ceilings and walls.
Successful teams will generally try to control the third floor because of good sight lines and the ability to camp the lift exits.  Hologram and Armor Lock come in very handy on this map.

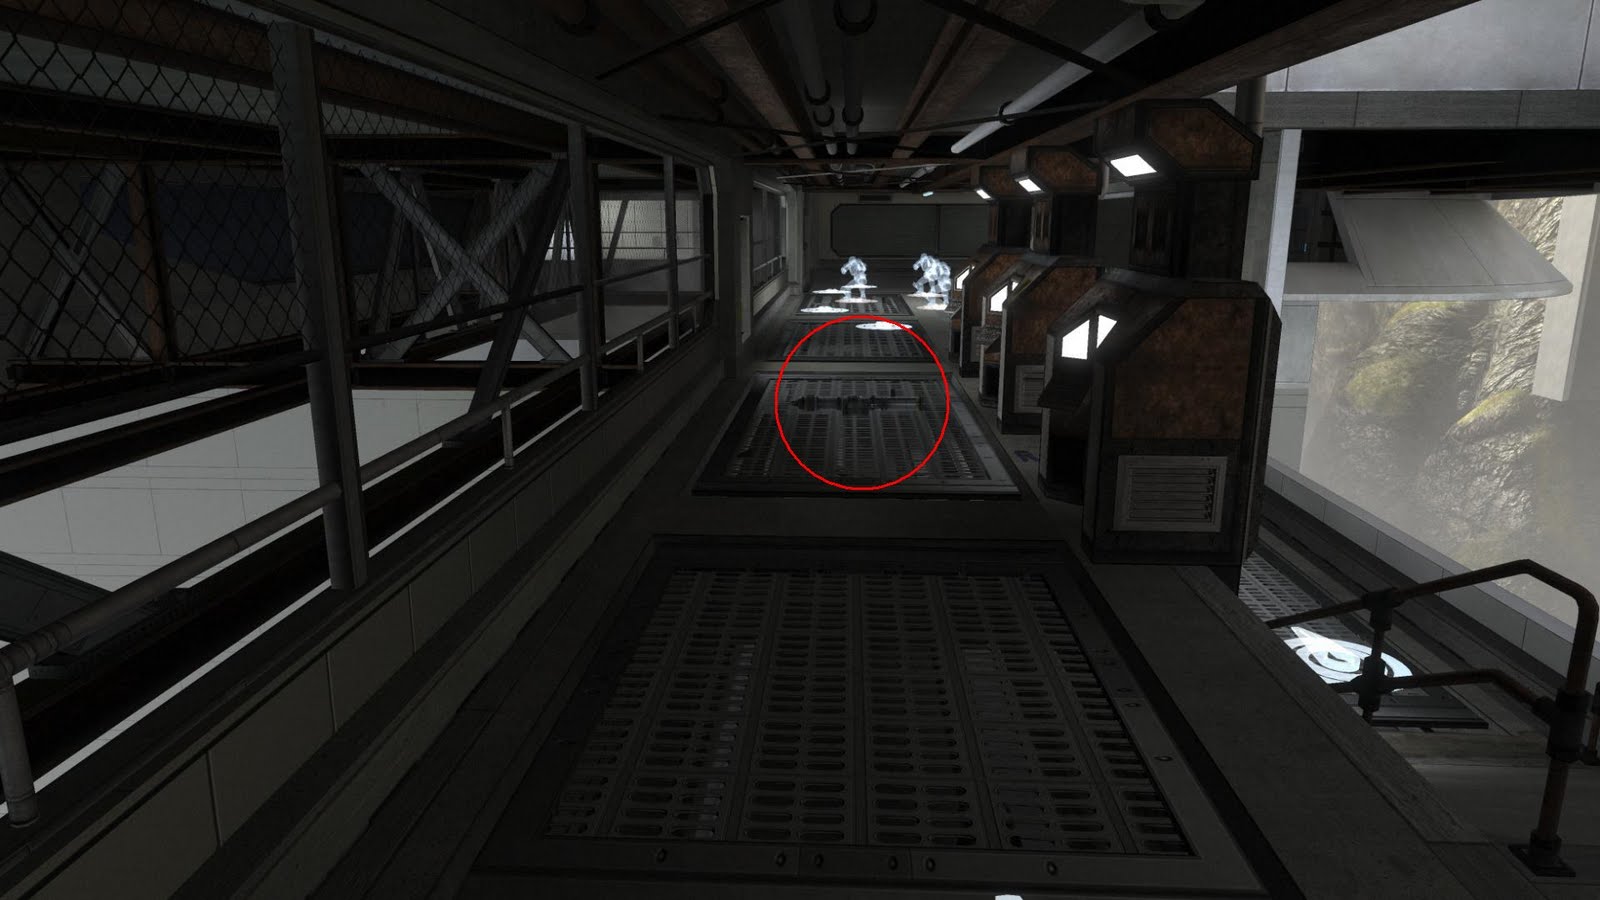
Close up screenshots of weapon locations:

Tuesday, September 28, 2010

HR Maps - Paradiso

Paradiso is one of the new maps that wasn't in the Beta, click below images for huge.  It's a large, symmetrical map that we've seen in Invasion Slayer.


Key locations:
  • (A) Spartan Laser - This is at the end of the high catwalk on the center tower.  The tower is accessible from either team's teleporter, and the catwalk is accessed via mancannon.  Laser is always there, regardless of territories captured.
  • (B) Grenade Launcher (Pro Pipe) - This is on the ground in the middle of the man made tunnel through the mountain.
  • (C) Blue Base
  • (D) Blue Teleporter - Has a Concussion Rifle on the platform, teleporter leads to center tower
  • (E) Red Base
  • (F) Red Teleporter - Has a Concussion Rifle on the platform, teleporter leads to center tower
  • (G) Bridge - Two manconnons on either side just speed crossing the bridge
I've also placed six green circles on the map to represent the Invasion Slayer territories.  Though there are Scorpions, Banshees, and Ghosts pictured on the map here, they do not actually start on the map until territories are captured.  At the beginning of Invasion Slayer matches, there is generally a rush through the teleporters to take the center tower and laser.  The opposing territories can be suppressed from the tower with the laser in that fashion.

Close up screenshots of weapon locations:


Sunday, September 19, 2010

HR Maps - Boardwalk

Boardwalk is one of the new maps that wasn't in the Beta, click below images for huge.  It's an asymmetrical map that we've seen in Territories.

 Key weapon locations:
  • (A) Human Sniper Rifle #1 - This is on the small half wall where the bottom team spawns
  • (B) Human Sniper Rifle #2 - This is on the ground up in the balcony where the top team spawns, or where territory 4 is
  • (C) Shotgun - This is either on the ground or leaning against the wall
  • (D) Plasma Launcher (n00b tube) -This is on the ground at the bottom of the stairs, or where territory 1 is
  • (E) Rocket Launcher - This is on the underground catwalk, near one of the re-spawn points
 Close up screenshots of weapon locations

Saturday, September 11, 2010

How Very Headshot-y

SWAT on Countdown.

Monday, August 23, 2010

Assault: The Cage

Showing another Forged map, this a multi-bomb versus game.  The Cage is the historical predecessor to Lockout/Blackout.

Sunday, August 15, 2010

How Very Ascension-Y

I get that this is supposed to be an example of what you can do in Forge 2.0, but did these guys make ANY new maps?

Saturday, August 14, 2010

How Very Purple-Y

It's like Midship.  But not.

Friday, August 13, 2010

How Very Asian-y

Ivory Tower has never looked so gorgeous.

Saturday, May 15, 2010

HR Maps - Powerhouse

Powerhouse is an asymmetrical outdoor map that shows up in all the 4v4 and FFA gametypes.  It hosts Slayer, CTF, Stockpile, Oddball, Headhunter, Crazy King, and Territories.  It has several power weapons, so controlling those will tend to tilt the board in your favor.  These are the things you should know (click for huge):

  1. Gravity Hammer - This is on the floor in this little room.  It is the closest power weapon from spawn, and the first that teams go for.  The fastest way there is to loadout with Scout and sprint the whole way.  It helps to have one person for backup, expect company.
  2. Grenade Launcher (Pro Pipe) - This is on the floor against the farthest left wall of the downstairs shower.  It is rarely claimed, so cruise by later in the match to grab it for great effect.
  3. Rocket Launcher - This is the most popular power weapon on the map, and most teams will send several people to claim it.  Since it only holds 4 rockets, it is spent quickly and will continually respawn, so check back often.  It is leaning against the wall in the water spillway.  The fastest way to get there and back is via jetpack.
  4. Focus Rifle (Laser Gun) - Because this map is pretty spread out and has decent sightlines, the Focus Rifle can be used pretty well, even if as supporting fire.  It is on the ground near the stairs.  This should be prioritized below the Hammer and Rockets because a team of two can take down the shooter pretty easily if the other team grabs it.  This pairs well with jetpack on this map as the shooter can hover up high and provide covering fire.

HR Maps - Boneyard

I get on a plane to Japan in 12 hours which means, sadly, that I've likely logged my last game of the Halo Reach Beta.  Hopefully they extend it so that I can get my Warrant Officer Grade 3 stripes and my shiny new helmet.  I leave you with some tidbits.

[Updated 12/6/10: This is no longer true in the production release.] After Phase 1, several weapons caches become available.  Directly to either side of the first pair of generators are Covenant weapon caches.  Each one holds a Plasma Launcher (n00b tube) and Focus Rifle (laser gun).  These pictures show the caches along with paths from each generator.  Click for huge.


Though good teams will both fight for these caches, Spartans get their own weapons cache as well.  The UNSC weapons cache is located above the indoor generator in Phase 2.  It holds two of each: Rocket Launcher, Sniper Rifle, Spartan Laser.  This cache will continually respawn more goodies as long as the game runs, so visit it often.  Click for huge.


Reach Beta - Overlook Strategies

This gametype actually isn't all that deep, but it is challenging because it's 3v3 with 3 generators to defend.  At the beginning there are random weapon drops that fall from the sky with power weapons.  Rocket Launcher, Sniper Rifle and Spartan Laser are all available.  You will want to grab these because all of them can do massive damage to the generators.

Spartans

  • Keep the generators locked down!  They only need to cool off for a couple seconds between lock downs, so keep them locked down.  Even if they're not being immediately attacked, they are vulnerable to quick ranged damage from rockets or laser if left unattended.
  • Because there are only 3 Spartans to defend 3 generators, one Spartan should sprint off to each generator and lock it down.  The Spartan on B can then head over to A to help hold that one, as its the harder of the two outdoor ones.  Once A or C falls, one Spartan should stay near each one, with a runner between the two.  Once B is the last one left, everyone should fall back indoors.  Though the generator can take damage from outside, most players don't know that yet.  Also, staying indoors helps keep the generator locked down as much as possible.
  • Watch out for friendly fire!  The generators CAN take damage from friendly fire.  Be careful of lobbing grenades at Elites near generators.
Elites
  • Grab the power weapons!  Because the generators are vulnerable from range, you can do massive damage without risk if you're holding any of the power weapons.
  • Grenade and melee!  These have the highest ROI of damage to the generators.  Some Elite loadouts give you 3 grenades, take advantage.
  • Divide and conquer!  The Spartans can't be in two places at once, so if you see one generator lock down, that means another is likely vulnerable.

HR: Maps - Overlook

Overlook is the map that Network Test 1 (a.k.a. Generator Defense) is played on, the playlist that went live yesterday morning.  It is a medium sized, asymmetrical, outdoor map that pits Spartans against Elites.   Click for huge:


These are the locations you should be aware of:
  1. Spartan Spawn - This is where the Spartans start.  There are a couple points to choose from, but they're all basically around this base.
  2. Elite Spawn - This is where the Elites start.  Again, there are a couple points to choose from, but they're all basically below the river in this picture.  From the Elite spawn point, both Generators A and C are visible and hittable with ranged weapons.  Generator B can be hit from a perch on the hillside on the bottom right of this picture, reachable by jetpack from the spawn.
  3. Generator A: This is the hardest one to get to from Spartan Spawn and generally the one that falls first.  It should still be defended to tick time off the clock.
  4. Generator B: This is actually inside the Spartan base so is usually the last to fall.  Note that it can be hit from outside the base though, so Spartans will want to keep it continually locked down.
  5. Generator C: This is easily accessible by Spartans from a number of paths and has a chaingun mounted nearby.

Thursday, May 6, 2010

HR: Maps - Sword Base

Sword Base is one of the two maps currently available in the Beta. Here is a picture illustrating a number of the important items (click for huge):


These are locations you should be aware of:
  1. Red Lift - This is accessed from the first level of the main atrium. There is a small opening in the wall, that leads around to a red gravity lift which will bring you to the third floor.
  2. Green Lift - This is accessed from a room on the first level on one side of the map. It sends you to the third floor, but ends up in a tight room.
  3. Mancannon - In the center of the atrium, provides access to both the "Lower Bridge" and "Middle Bridge" when jet packs are not equipped.
  4. Low Bridge - The low bridge on one side of the map.
  5. Middle Bridge - In the very middle of the map, spawns the Plasma Launcher ("n00b tube") right in the middle.
  6. High Bridge - Green Lift room exits onto one side of this bridge. This bridge tends to see the most action in Slayer matches.
  7. Sniper Ledge - Is actually all the way against the back wall (not the ramp itself). Can be accessed by going out the door from Red Stockpile and following the ledge out into the open.
  8. 1 Flag Spawn - In 1 Flag CTF games, this is where the flag spawns. Has to be taken to directly upstairs to the second level, but is complicated by the Green and Red lifts being disabled.
  9. Red Stockpile - In Stockpile games, this is the red spawn and where red flags are collected.
  10. Blue Stockpile - In Stockpile games, this is the blue spawn and where blue flags are collected.
  11. Sniper Rifle - Spawns against the pillars on this side of the atrium. For Covenant games, this is the Focus Rifle.
Grav Lifts. Lots and lots of activity centers around the lifts, especially in Slayer games. The top of Green Lift is an absolute CF and should probably be avoided if possible. Taking Green Lift up leaves you in a tiny room that is constantly spammed with grenades. Exiting the lift room involves dodging DMR/NR fire from both sides. At this point of the Beta, most people do not know how to access the Red Lift, so it's a much better option to get upstairs and flank people camping the top floor.

Currently, the mancannon is the fastest known way to move the flag in 1-flag CTF. A Scout can jump down from attacking spawn onto the ramp leading to the flag and sprint in. They can then hop over the railing, turn left and mancannon the flag up to Low Bridge. The flag carrier moves too slow to clear the jump themselves, but can throw the flag up for awaiting team mates. It may be possible to jump the other way onto middle bridge as well, but that involves passing the lift and coming the other way.

Weapons. I've only marked the Plasma Launcher and the Sniper Rifle on the map because they are easy to mark in the atrium. There is also an Energy Sword in a side room (fairly obvious) and a Shotgun under a staircase on the other side. The Plasma Launcher is the best power weapon in the Beta and is very much overpowered. The fastest way to reach it is to drop down to the main level of the atrium and take the Mancannon up. Or jet pack over, if equipped.

Sniping. I've marked the one Sniper Ledge, but there are also sniper perches on both sides of the map. A balcony is at the top of Red Lift that has visibility to much of the map. There is also a small perch directly above Low Bridge that is accessed via an inside ramp from the top of the Green Lift exit area.